BLV 3D Printer enclosure - progress!
- Ben Levi
- Apr 9, 2021
- 4 min read
Updated: Aug 16, 2021
UPDATE 16/08/21: Project BETA has been released to the public link
I know many of you are waiting for an update, so I can finally share with you

A while ago I announced on the BLV Facebook group that I had started developing a new universal extrusions system to be part of the affordable BLV enclosure project, made for a wide range of 3D printers. The main reason I chose to develop the BLV enclosure project is because of my dear wife. our house is not that big and as the number of printers increased, she thought they were really ugly and not suitable for the house. Therefore, I chose to create an enclosure with a modern design, clean, round lines, and delicate contours. Now I have received official approval from her to place even printers in the living room 😍.
Designing such a system requires experience in industrial design and production technics, therefore the task was not so easy to complete. I wanted to create a reliable, modular system, affordable price, easy to assemble, and yet affordable that can be used with any 3d printer.
a small reminder of the original design concept sketch:

After hundreds of hours of designing the new extrusion system and Having more than 12 different prototypes, I can finally reveal the progress of the BLV enclosure project. so a few days ago I got the most updated version of the BLV enclosure prototype. The parts came in a heavy package. It was carefully placed in a paper wrapper, protecting it from damage during shipping. I was as excited as a little boy who had just received a birthday present.
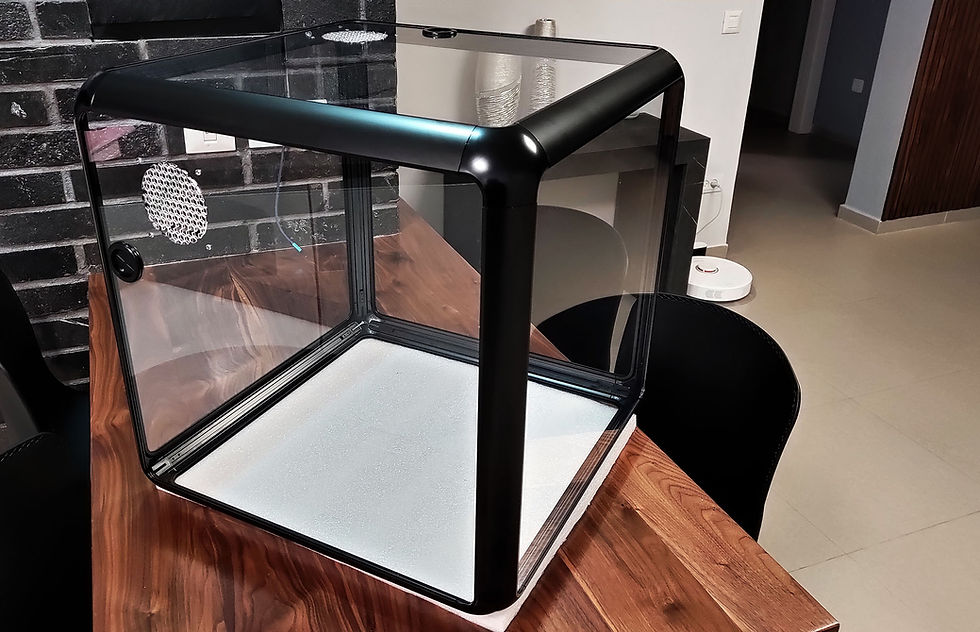
As you can see, the entire enclosure is aluminum extrusion profiles, aluminum cast corners. Remember I said that it's universal? Well, The enclosure is supposed to be suitable for any type of 3d printer and not just. The only things that changes are the length of the extrusions profiles, panels, and the location of the cable/ventilation holes. Immediately after I removed all the packaging this is what has revealed to my eyes:
Designing the corner component alone took almost 3 full months, But, I do not regret all the time I invested in developing this extrusion system. Anyway, the quality of the parts is just amazing. It is not easy to produce such high-quality parts. I had to make a number of changes until I came up with this version that pretty quickly turned out to be a good prototype.
The profiles are very easy to assemble. assembling the entire enclosure took no more than 15 minutes. Each of the extrusion profiles fits snugly into the corner component and locked using two set screws. both extrusion and corner have a self-alignment feature which places both components at the same height, creating a uniform and smooth look. no need to waste time on aligning the frame. Overall the frame is extremely rigid Although the entire structure consists of thin aluminum extrusions and plexiglass panels.

In the video I uploaded below, you can see at 0:18 how the profiles connect:
uniform and smooth look... If only you could imagine what way I went through and how many prototypes I created until I got to the point where all the parts fit in and align perfectly with each other as shown in the picture.
Currently, I am waiting for the door parts. I'm planning to have two doors so that it will be easy to use the printer, replace the filament and take out the printed object. The door is expected to have a magnetic lock mechanism and a clean look.
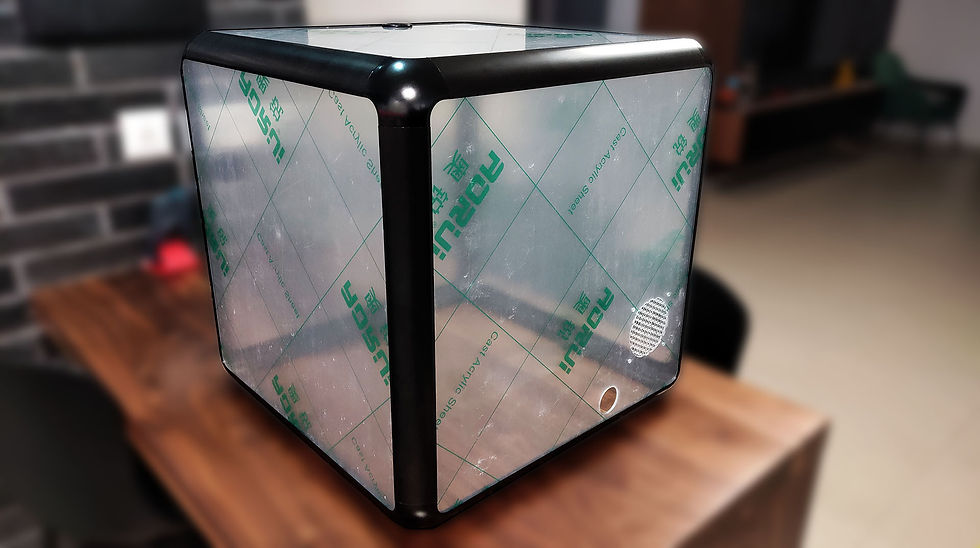
I made sure to use Cast Acrylic and not Extruded Acrylic. The Casted acrylic is much more clear, has no defects compared to Extruded, but more expensive. After the quick frame assembly, I realized that the panels are thinner than I planned. it was 2.7mm instead of 3mm, therefore it was a bit shakey. with the nylon protective cover, the plexiglass is exactly 3mm in thickness and it's more than perfect. Everything sits exactly as I planned. The structure is very strong, reliable, and lightweight compared to other enclosures. I'm happy with the end result.

In this version, I designed a hole for a low RPM fan (needed when printing flexible materials). There is a dedicated cover I made that closes the hole for those who do not want a fan. I added a rubber grommet for external cables. accidentally I placed the panel upside down, when in fact the location of the cable hole had to be down. some of the hive walls broke during shipping so the next design will have a thicker hive.
You will also notice that I used the same COB led lights from the MGN cube project and it slides smoothly inside the extrusion profile. I think it's worth mentioning that the extrusion channels support also using T-nuts, so basically, you can attach any camera mount, filament holder, filters, lights, and more.
This prototype enclosure was specially made for the Prusa mini+ so the size is 48x48x48 cm and it contains the Prusa mini+ and the original spool holder. the bottom has no panel and a silicone sealing strip is installed - protecting the table and the aluminum extrusions from damages. also, when there is a serious malfunction in your 3d printer, it will be easier to remove the enclosure without the bottom panel, giving you more workspace to handle the problem. Please mind that I plan to design this enclosure not only for the Prusa mini+ but also for a large selection of popular printers like the Ender 3 series, CR-10, Prusa MK3s+, Artillery, and more.

There are a few more things that I need to complete, such as testing the door mechanism, sealing the panels, and developing a fumes extraction/filtration system. Although I have a lot of work to do, I'm glad that at least the hard part is over. No doubt I will need help in the next steps and I will probably open a beta testers group in the new forum I am setting up and will open soon on the BLVprojects.com site.
Feel free to check the new BLV Discrod server.
UPDATE 16/08/21: Project BETA has been released to the public link
Sincerely Ben Levi


Comments